
Plastering vs Skim Coating: How to Fix Uneven Concrete Walls in Singapore Homes (2026)
Quick Answer: In Singapore, plastering is a structural brick or concrete leveling process using a thick cement-sand mortar (typically 10mm to 20mm thick) to correct major plumb deviations. Skim coating is a cosmetic finishing process using a super-fine compound (typically 1mm to 3mm thick) to cover minor surface pores and create a perfectly smooth surface before painting. Professional wall plastering services in Singapore cost between SGD $3.50 to $7.00 per square foot, while skim coating ranges from SGD $1.50 to $3.00 per square foot.
FTC Disclosure: Nouvelle Workz is a direct renovation builder and wet works contractor in Singapore. By consulting with our in-house masonry and plastering team directly through the links in this guide, you receive direct builder rates, saving on the typical 25% to 35% interior design agency management markups.
Last updated: July 10, 2026
—
Introduction: The Eyesore of Uneven Concrete Walls
When you buy a brand-new HDB BTO flat, an older resale apartment, or a private condominium in Singapore, you expect your walls to be straight, smooth, and ready for painting.
However, because most residential buildings in Singapore are constructed using precast concrete panels or cast-in-situ formwork, it is incredibly common to find walls that are bowed, wavy, or structurally out of plumb.
If you paint directly over an uneven concrete wall, the flaws will become painfully obvious as soon as you turn on your ceiling lights or install track lighting. The spotlights will cast long, wavy shadows along the wall, ruining the premium look of your home.
To solve this, homeowners must choose between plastering service options and skim coating Singapore applications.
This guide outlines the difference between plastering and skim coating, details the step-by-step wall leveling workflow, analyzes typical local costs, and lists common defects to watch out for.
—
1. What is Plastering vs Skim Coating?
Many homeowners and even junior designers use the terms “plastering” and “skim coating” interchangeably. However, they are entirely different wet works processes with distinct materials, thickness limits, and structural purposes.
Plastering (Thick Leveling)
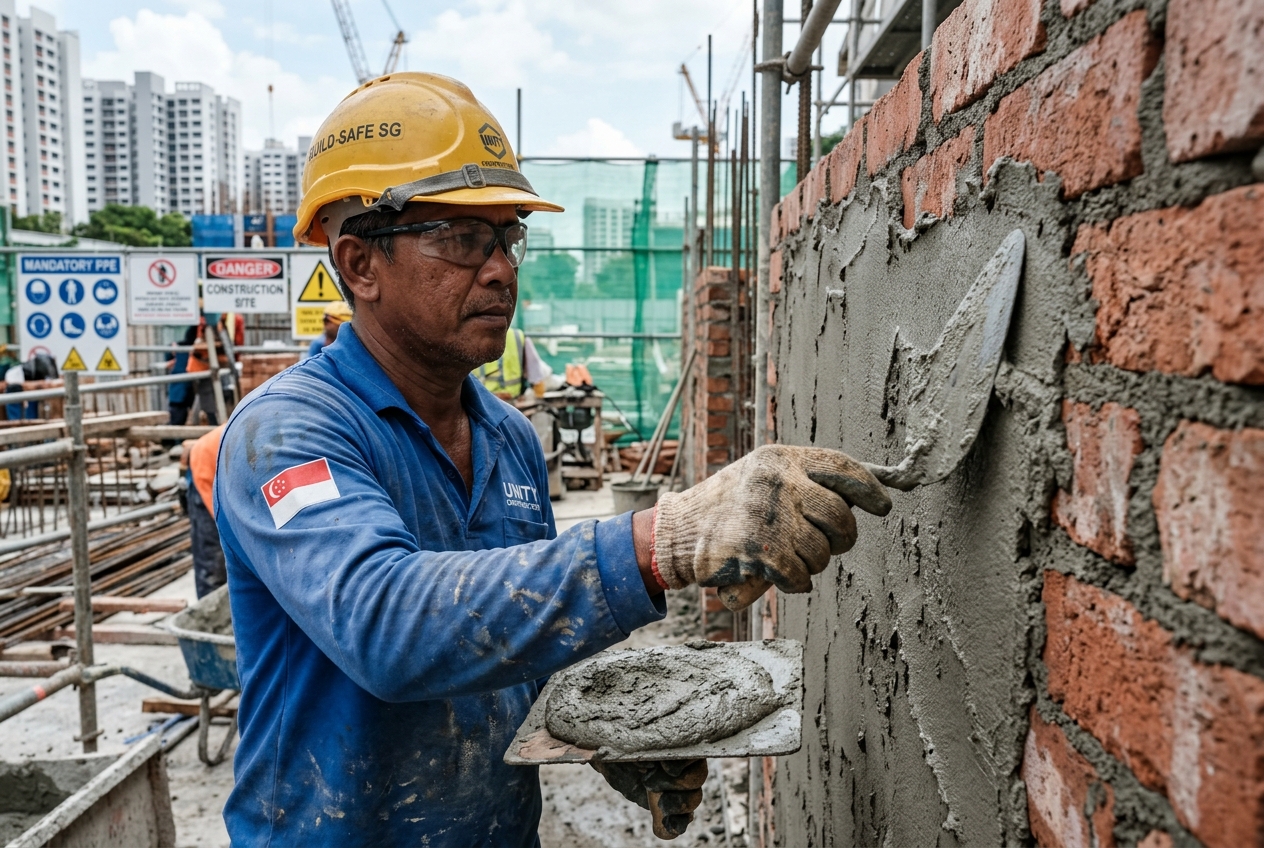
Plastering (also known as rendering) is a heavy-duty masonry process. It uses a thick mixture of Portland cement, fine sand, and water to correct major structural slope deviations (walls that are leaning or bowed). Plastering is applied to raw brick walls or rough concrete structural pillars.Skim Coating (Thin Smoothing)
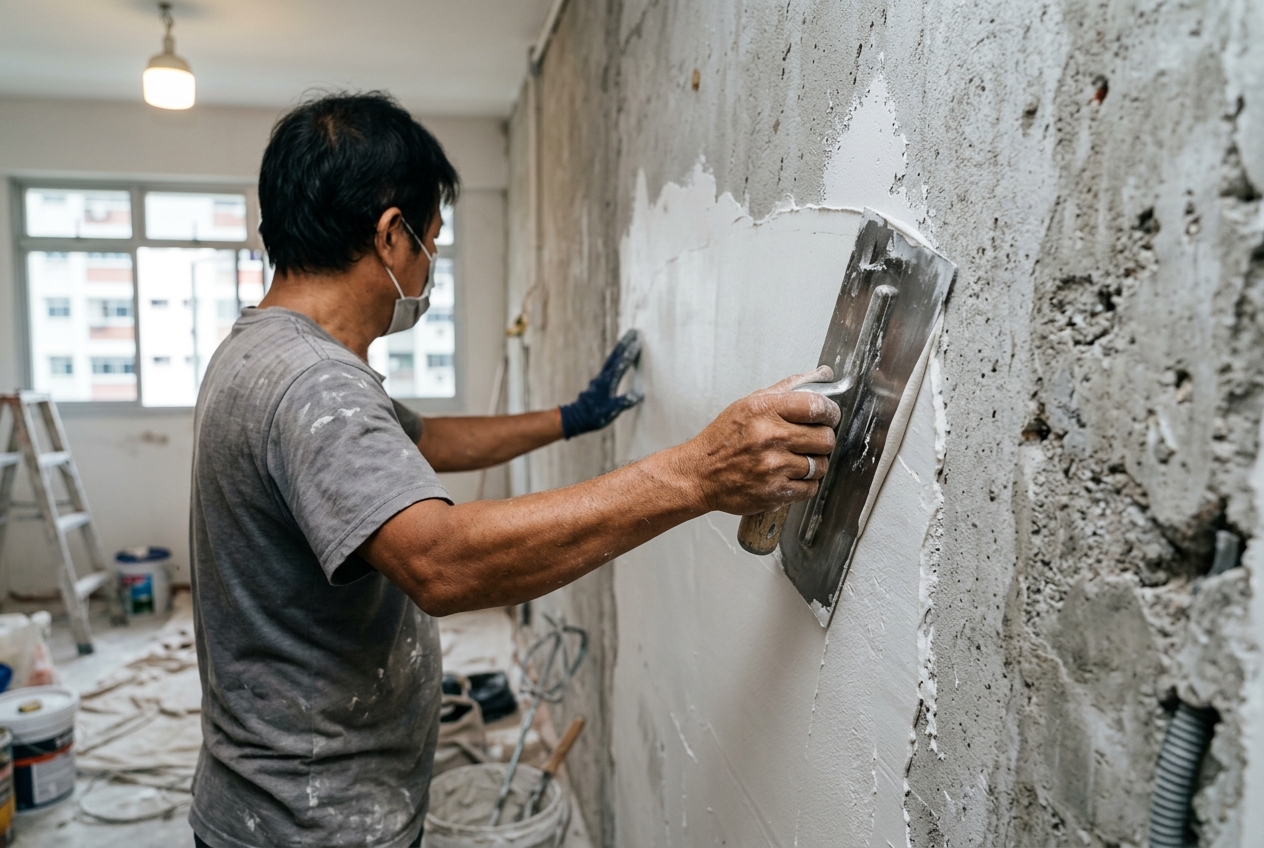
Skim coating is a cosmetic finishing process. It uses a pre-mixed, super-fine plastering paste (usually gypsum or acrylic-based, like Gyproc or skim coat compounds) to fill in minor scratches, hairline cracks, pinholes, and rough concrete textures. Skim coating is applied to already plastered walls or drywall partitions to create a smooth, paper-like surface before priming and painting.Plastering vs. Skim Coating Comparison
| Feature / Detail | Plastering (Structural Leveling) | Skim Coating (Cosmetic Smoothing) |
|---|---|---|
| Material Base | Portland Cement, Sand, Lime | Gypsum, Acrylic, Fine Limestone |
| Thickness Range | 10mm to 25mm | 1mm to 3mm |
| Primary Goal | Aligning walls, correcting structural tilt | Removing minor surface roughness |
| Substrate Compatibility | Raw concrete, clay bricks, hollow blocks | Plastered walls, drywalls, ceilings |
| Typical Cost (SQFT) | SGD $3.50 – $7.00 | SGD $1.50 – $3.00 |
—
2. The Step-by-Step Wall Levelling Process
Achieving a perfectly straight wall requires careful preparation and sequential application by a skilled plasterer contractor Singapore mason. The standard industry workflow includes the following phases:
Phase 1: Surface Preparation
- Hack away any loose, flaking concrete or old peeling paint layers.
- Scrape off old wallpaper residues and sand down glossy oil paints.
- Clean the bare concrete substrate to remove dirt, grease, and structural dust.
Phase 2: Applying Concrete Bonding Agent
- Paint a layer of specialized concrete bonding agent (such as Weldcrete or specialized acrylic primers) over the bare concrete wall.
Phase 3: Thick Plastering / Mortar Application
- Install vertical guide strips (plaster beads) using a laser level to establish a perfectly flat reference plane.
- Apply the cement-sand mortar between the guides using a hawk and trowel.
- Use a long aluminum straightedge (screed bar) to scrape off excess mortar and align the surface with the guide strips.
Phase 4: Skim Coating for Finish
- Once the base plaster layer has cured completely (usually takes 24 to 48 hours), apply the first coat of skim coat compound.
- Apply a second, ultra-thin skim coat layer to fill in micro-pores.
Phase 5: Sanding and Priming
- Hand-sand or machine-sand the wall using fine 180-grit to 220-grit sandpaper until it feels smooth to the touch.
- Apply one coat of high-quality wall sealer (primer) before applying the final coats of emulsion paint.
—
3. Common Wall Defects in HDB and Private Condos
If a contractor uses cheap materials or rushes the curing process, several common wall defects can appear:
1. Hollowing (Hollow Sounds)
Symptom*: Tapping the wall yields a hollow, drum-like sound. Cause*: The plaster layer has detached from the concrete wall because the contractor skipped the concrete bonding agent or plastering mortar was mixed with too much water.2. Hairline Cracks (Crazing)
Symptom*: Fine, web-like cracks appearing across the wall surface. Cause*: The plaster dried too quickly under direct sunlight or wind, or the sand-cement ratio was incorrect.3. Wavy Shadows (Poor Light Alignment)
Symptom*: Wall looks smooth under diffuse daylight, but looks highly uneven and wavy under spotlights. Cause*: The contractor did not use laser levels or guide beads during the plastering phase, relying only on freehand smoothing.4. Paint Peeling (Flaking)
Symptom*: Paint peeling off in large sheets, bringing the skim coat layer down with it. Cause*: Painting over a damp, uncured plaster wall, trapping moisture behind the paint film.—
4. Budgeting: Plastering & Skim Coating Cost Breakdown
To help you budget for your home renovation, below is the average plastering wall cost Singapore log:
Average Rates by Room / Scope
| Renovation Scope | Unit of Measurement | Price Range (SGD) |
|---|---|---|
| Skim coat existing walls (Whole Flat) | Per Square Foot | SGD $1.50 – $2.50 |
| Plaster raw concrete / brick wall | Per Square Foot | SGD $3.50 – $6.50 |
| Skim coat ceiling (Standard HDB) | Per Square Foot | SGD $2.00 – $3.00 |
| Plastering drywall joints only | Per Metre Run | SGD $8.00 – $12.00 |
| Patching wall cracks & plastering | Per Spot Location | SGD $80 – $150 |
EXPERT CITATION ON DRYING TIME TRAPS
James, Founder of Nouvelle Workz (Singapore Wet Works Lead):
“The biggest mistake we see DIY homeowners and rushed contractors make is painting too early. A thick cement plaster layer needs at least 7 to 14 days to fully cure and release its internal moisture. If you apply a primer or paint after only 2 days, the moisture gets trapped behind the paint layer. Within 6 to 12 months, the paint will begin to bubble, peel, and flake, taking the skim coat with it. At Nouvelle Workz, we use moisture meters to verify that the wall’s internal moisture is below 6% before we allow our painters to start work.”
—
5. Choosing the Right Plastering Contractor: Direct Wet Works Advantage
Plastering is a physically demanding craft that relies heavily on hand-eye coordination and plaster trowel control.
By bypassing design agencies and partnering with a direct builder like Nouvelle Workz, you secure major B2C advantages:
- Direct Masonry Rates: No third-party interior design markups. You pay directly for certified plastering masons and high-grade materials.
- Laser-Guided Precision: We use cross-line laser levels and structural plaster beads on every wall project, ensuring straight walls that look flawless under spotlights.
- Premium Bonding Agents & Compounds: We use high-performance bonding primers and moisture-resistant skim coat compounds, preventing future hollowing and paint flaking.
—
FAQ
How long does plastering take to dry before I can paint?
For cosmetic skim coating (1mm to 3mm thick), it takes 24 hours to dry. For thick cement-sand plastering (10mm to 20mm thick), you should wait at least 7 to 10 days for the moisture to escape before applying sealer and paint.
Can I skim coat over wallpaper or existing glossy paint?
No. You must strip all wallpaper and sand down glossy oil paint before plastering. Applying plaster or skim coat compounds directly over glossy surfaces or paper will lead to bonding failure, causing the new plaster layer to fall off.
What is the main cause of plaster cracks after renovation?
The primary causes are structural movement (settling of the building), thermal expansion, incorrect water-to-cement ratios, or the plaster drying too fast due to heavy drafts or direct sunlight during application.
Do I need an HDB permit for wall plastering?
No, you do not need an HDB permit for plastering or skim coating existing walls. However, if you are hacking down walls or constructing new brick partitions, you must secure HDB approval before starting works.
—
Final Thoughts: The Base of a Premium Home Finish
A beautiful home renovation starts with straight, smooth walls. By understanding the difference between structural plastering and cosmetic skim coating, and choosing a direct builder with experienced masons, you can achieve a flawless paint finish that remains crack-free for years.
If your walls look wavy or need repair, contact our wet works team today.
Need smooth, flawless walls? [Get a direct plastering quote from Nouvelle Workz →]